
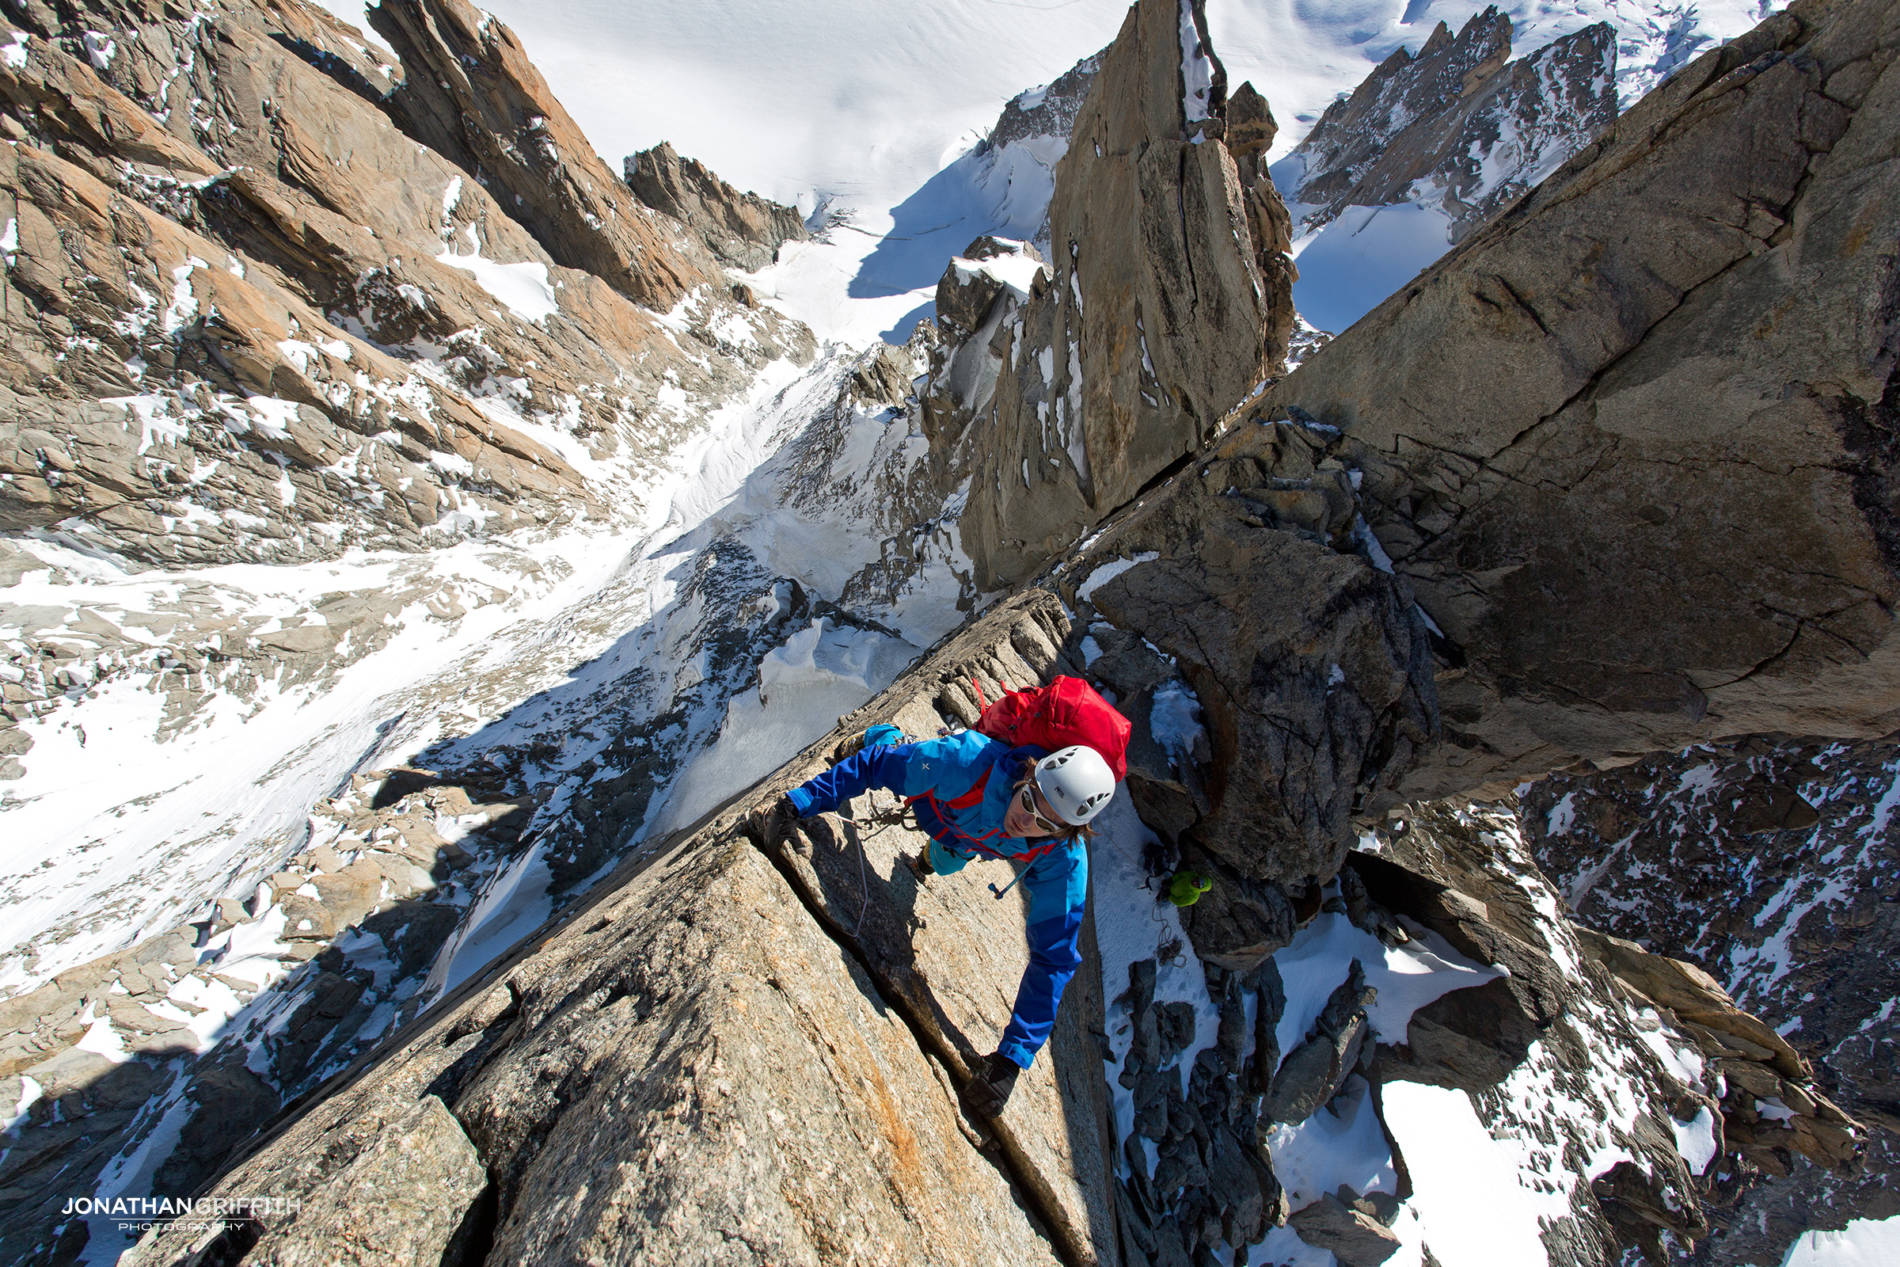
Conducting a photoshoot high up on Ama Dablam, © Andy Houseman
Tips from the Pros - Which Camera Gear?
I’ve lost count of the amount of emails I’ve received asking for camera gear advice and what I use; it’s a minefield after all with so many brands, sensor sizes, and lens choices. Throw in the fact that in our sport we tend to favour the small and light things in life, it means that we’re constantly looking to squeeze every ounce of performance out of our kit. My set up is actually pretty simple and it doesn’t tend to change all that much - keep it simple and you’ll use it lots, make it complicated and you’ll never get your camera out. So to that end I’ve laid out below what I use on both professional mountain shoots as well as my personal climbs.
NB: I pay for all my camera gear. The below information is entirely honest and true, the following set-ups are suggested because that’s what works best for me, not because I got it for free.
Camera Body - Pro
I have been a Canon 5D user ever since it came out ten years ago. At the time it was the smallest full frame DSLR on the market, with its size and weight right on the limit of what I would call acceptable for mountain use. Yes you can go bigger, but bigger isn’t always better. I tend to judge photographers based on how little they can do a shoot with rather than how much kit they have with them - the more experience you have the less you have to rely on extra gear to pull it off successfully.
The Canon 5D Mark III (current version) is a great camera though and I’ve carried it up hard multi day winter ascents such as Manitua on the Grandes Jorasses as well as light and fast climbs in Patagonia, Alaska and the Himalayas. One truth in the camera world is that if you want to get the very best quality pictures you are going to be weighed down quite a bit, that’s just life. iPhone pictures just don’t compare to DSLR ones.

The Canon 5D Mark III
Nikon offered an alternative in 2012 to the 5D line in the form of the Nikon D800. When it first came out it had the very enticing selling point of a 36MP sensor (vs 22MP for the 5D Mark III) but what put me off swapping systems was that the body of the D800 was a bit bigger and worst of all the Nikon wide angle lens was too big. So I stuck to the 5D Mark III.
Unfortunately the 5D Mark III felt like a pretty poor update over its younger sibling the Mark II. Yes it was a better camera than the Mark II, but seeing as both the Mark I and Mark II were so groundbreaking, the Mark III failed to offer any exciting new terrain. The lack of 4K filming ability in this modern world has been a real handicap, and the features, functions, and sensor now feel very old. It’s odd that the most groundbreaking camera series in my professional lifetime has gone 4 years without seeing the Mark IV released. Instead the Sony A7 system came to market.

The Sony A7 Line Up

A Sony A7 next to a Canon 5D, © www.ephotozine.com

A Sony A7 next to a Canon 5D, ephotozine.com

Sony A7, Canon 5D, and Nikon D810, © fotovideo.nu
The Sony A7 system arrived with huge fanfare in 2014, well the body anyway, the lens line up meant that whilst I was tempted to try out a Sony A7 I couldn’t justify it professionally due to the poor lens line up. Fast forward a couple of years for Sony to iron out the kinks in such a before-its-time system as well as beef up the lenses available and I actually swapped my professional set up this year from the 5D system to the A7. It felt a little odd downsizing in both size and weight on my professional rig but I’ve not regretted it once - the only thing the 5D has over the A7 in my view is the faster FPS and buffering speed. I can live with it but if you’re in to ski photography this camera would be a nightmare- alpinism tends to be a bit slower and it’s something I’ve learnt to manage whilst shooting.
So which Sony A7? Good question as there are a variety of them. Broadly speaking if you are interested in film work primarily then you want the Sony A7S II and if you’re in to photography and film making then you want the Sony A7R II. The main difference between the two is the sensor resolution - the more pixels you try and cram in to a set sensor size the more noise and grain you’re going to get - so Sony used a 12MP sensor on the Sony A7S II and a 42MP sensor in the Sony A7R II. The end result being that the Sony A7S II should work better in low light - I say should because I still think it’s quite hard to tell the difference apart from in very specific situations.
The Sony A7R II is by far the best full frame camera I have ever used though. Big statement I know, but it’s true. The new Sony G Master Lenses as well as the Zeiss line up make for some very professional (and expensive!) glass that will bring incredible results to both photo and video work, whilst compact enough to think about taking up hard routes as well.
Camera Lenses - Pro
It’s often said that you’re better off spending your money on glass rather than body, which is largely true. What really attracted me to the Canon 5D series back in the day was the lens line up compared to the Nikon one. My lens of choice is a good quality wide angle zoom that’s also quite compact. Canon dominates the line up over Nikon offering both the EF 17-40mm F4L as well as the EF 16-35mm F2.8L. I started off using the 5D system with the 17-40mm due to the lens being a bit smaller and lighter than the 16-35mm, carrying it up hard multi-day routes around the world meant I was quite obsessed with every gram and millimeter saved. I eventually upgraded to the 16-35mm and accepted that the extra weight and size was worth it for the increase in quality. My other go-to lens in the Canon line up was the EF 24-105mm F4L. With the 16-35mm and the 24-105mm that was all I needed for photoshoots, bringing two lenses is my maximum on big mountain photoshoots - instead just adapt your shooting style to what you have. It’s less faff, less to carry, and less to think about.
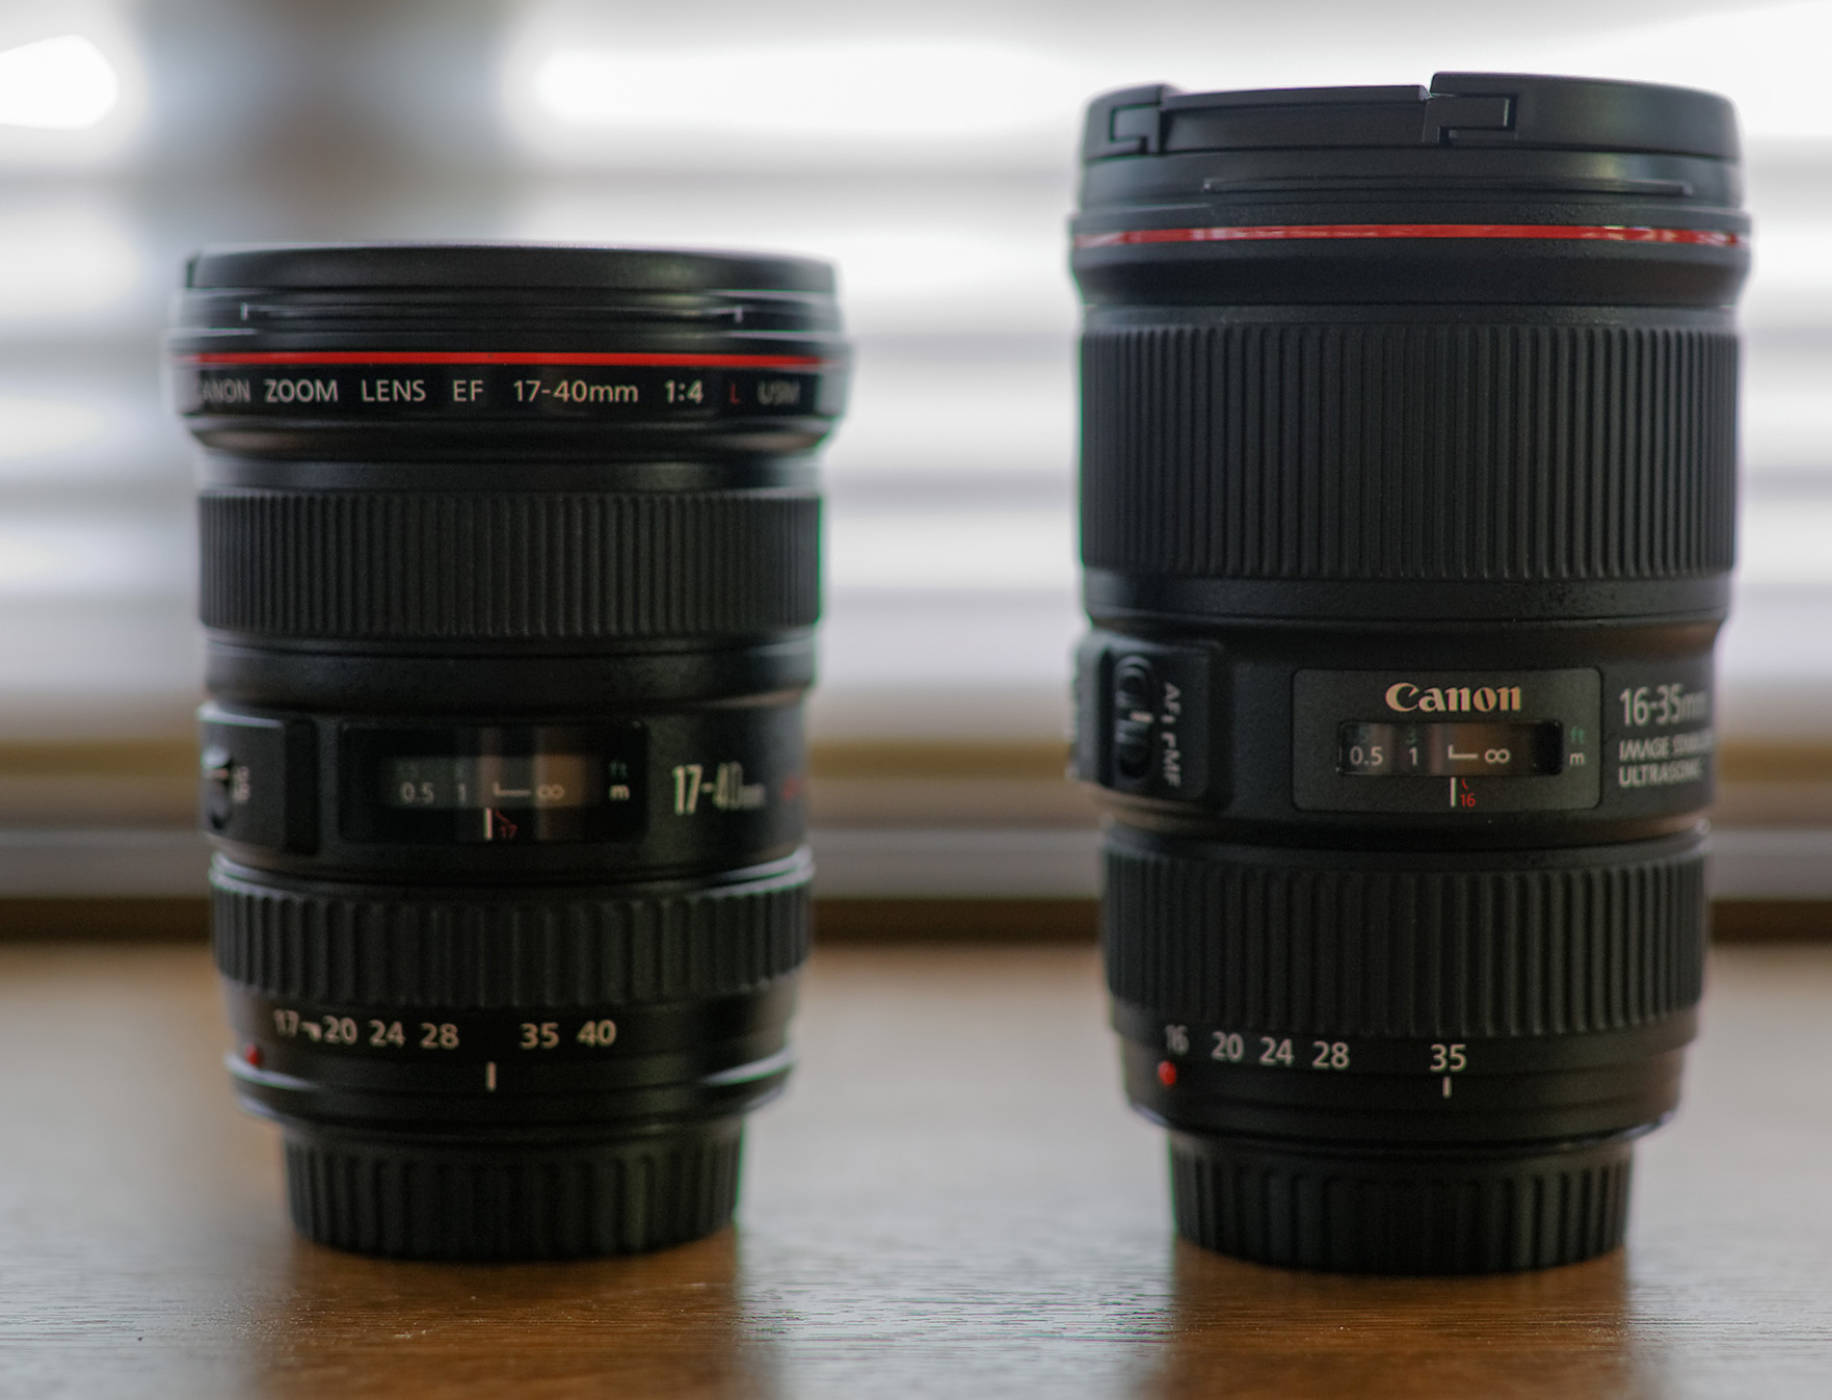
The 16-35 vs 17-40, quite the size difference © http://www.florianbieler.de
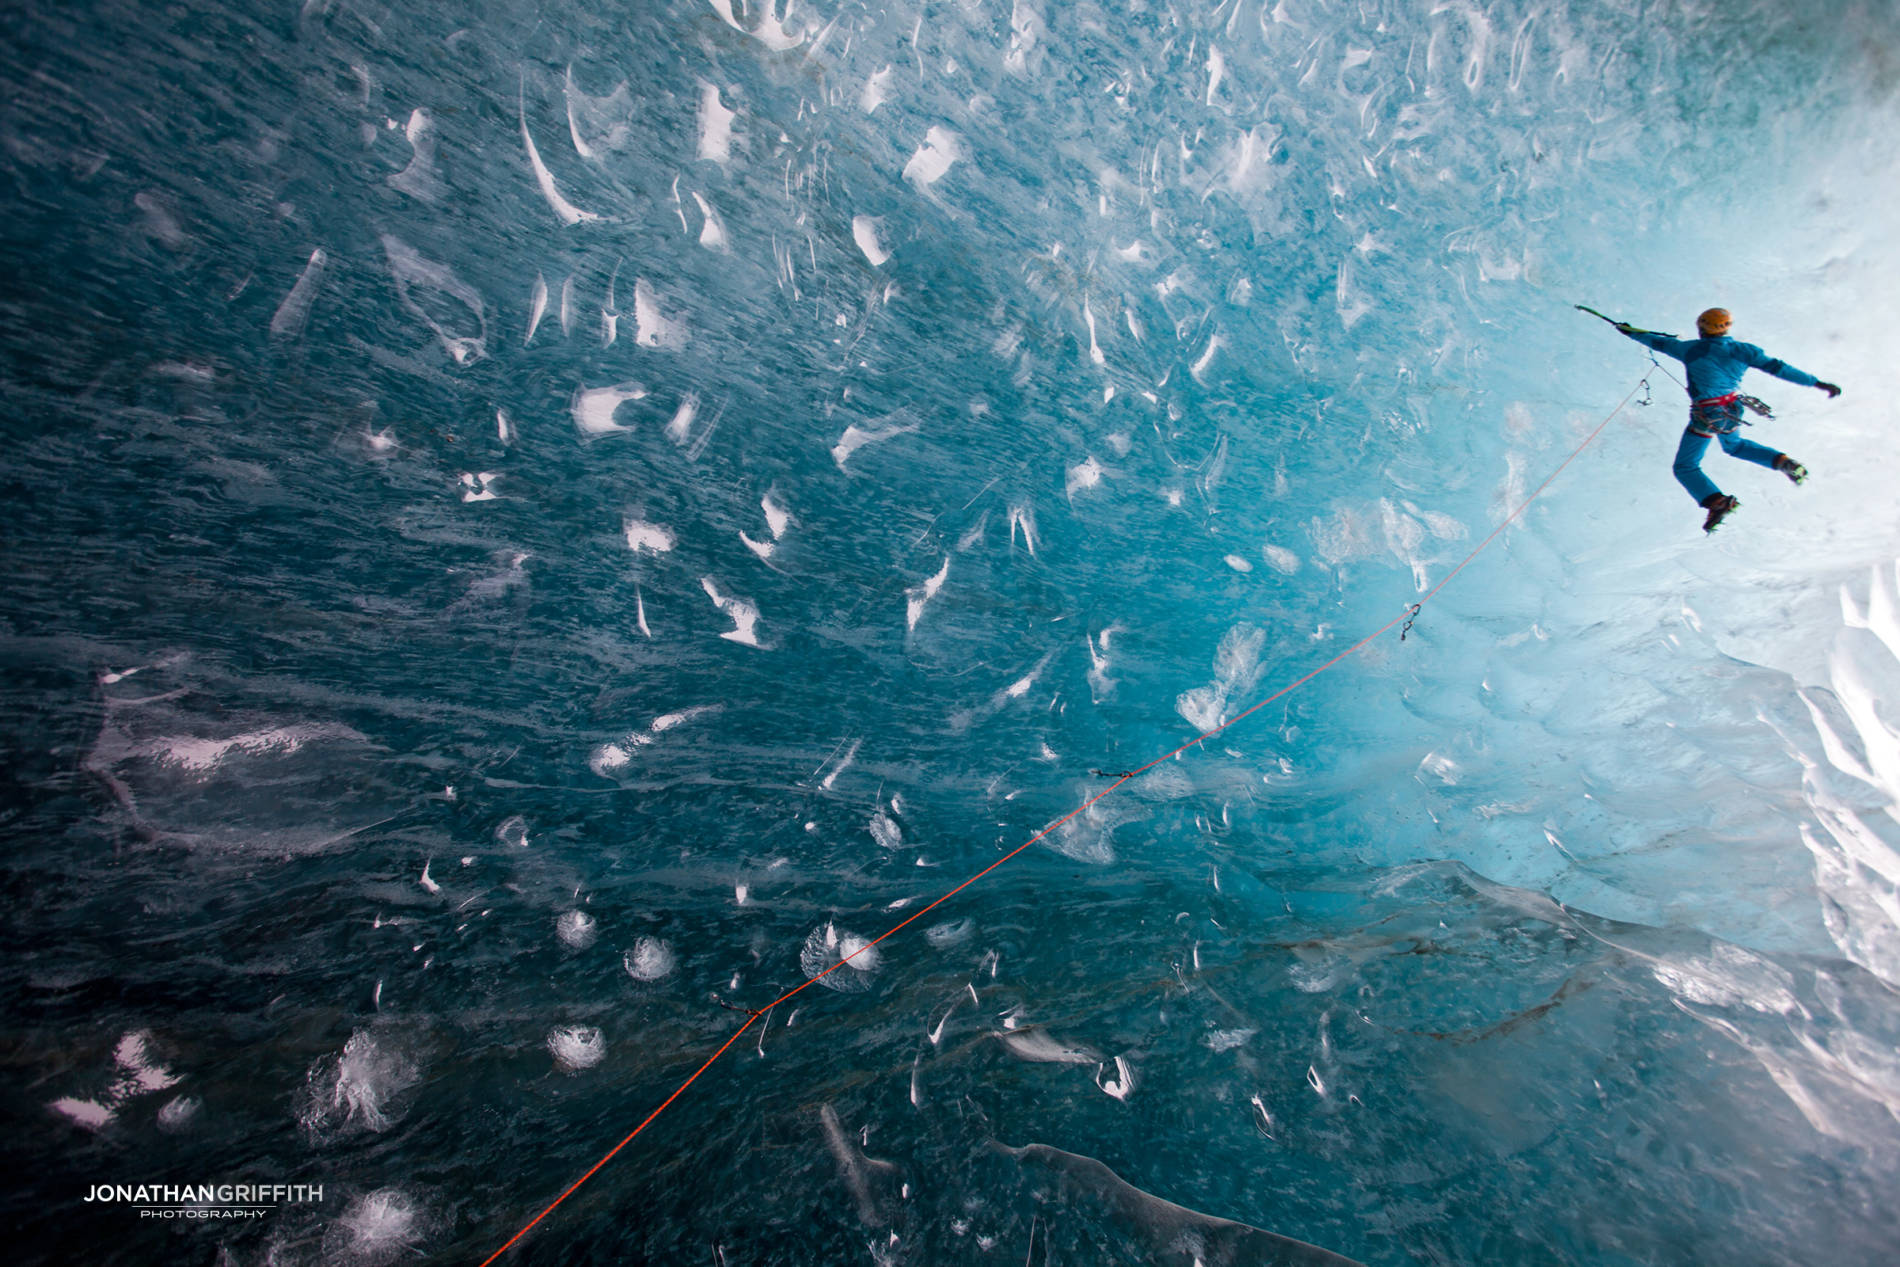
Some sample images from the Canon 5D rig


For the Sony A7R II the line up is a bit more varied and interesting, as well as more expensive. Sony has three sets of lenses, the G Master, the G, and the Zeiss. The G Master series are absolute top quality and very expensive glass - I have no doubt that combined with the A7R II body you’re going to come away with incredible imagery. But for those of us who don’t want to carry the weight there is a more reasonable option in the G and Zeiss ranges. For me my go-to lens is the Zeiss FE 16-35 F4 lens. Pin sharp and perfectly suited for Alpine and Climbing Photography needs it has now become my new favourite set up for professional work. I also own the Zeiss FE 24-70 F4 and the FE G 70-200 F4. The latter lens is a masterpiece of lens design for the weight and size but I will leave it at home if I’m on a serious climb. Remember it’s all about streamlining your setup - a telephoto lens may be useful here and there but honestly do you really need it? If the answer is “umm…maybe” then leave it at home. Yes you may miss one or two unique shots you could only get with a telephoto but on a proper alpine climb carrying and faffing about with a third lens may cost me another really nice shot in the first place.

The 24-70, 16-35, and 70-200. © http://www.colbybrownphotography.com
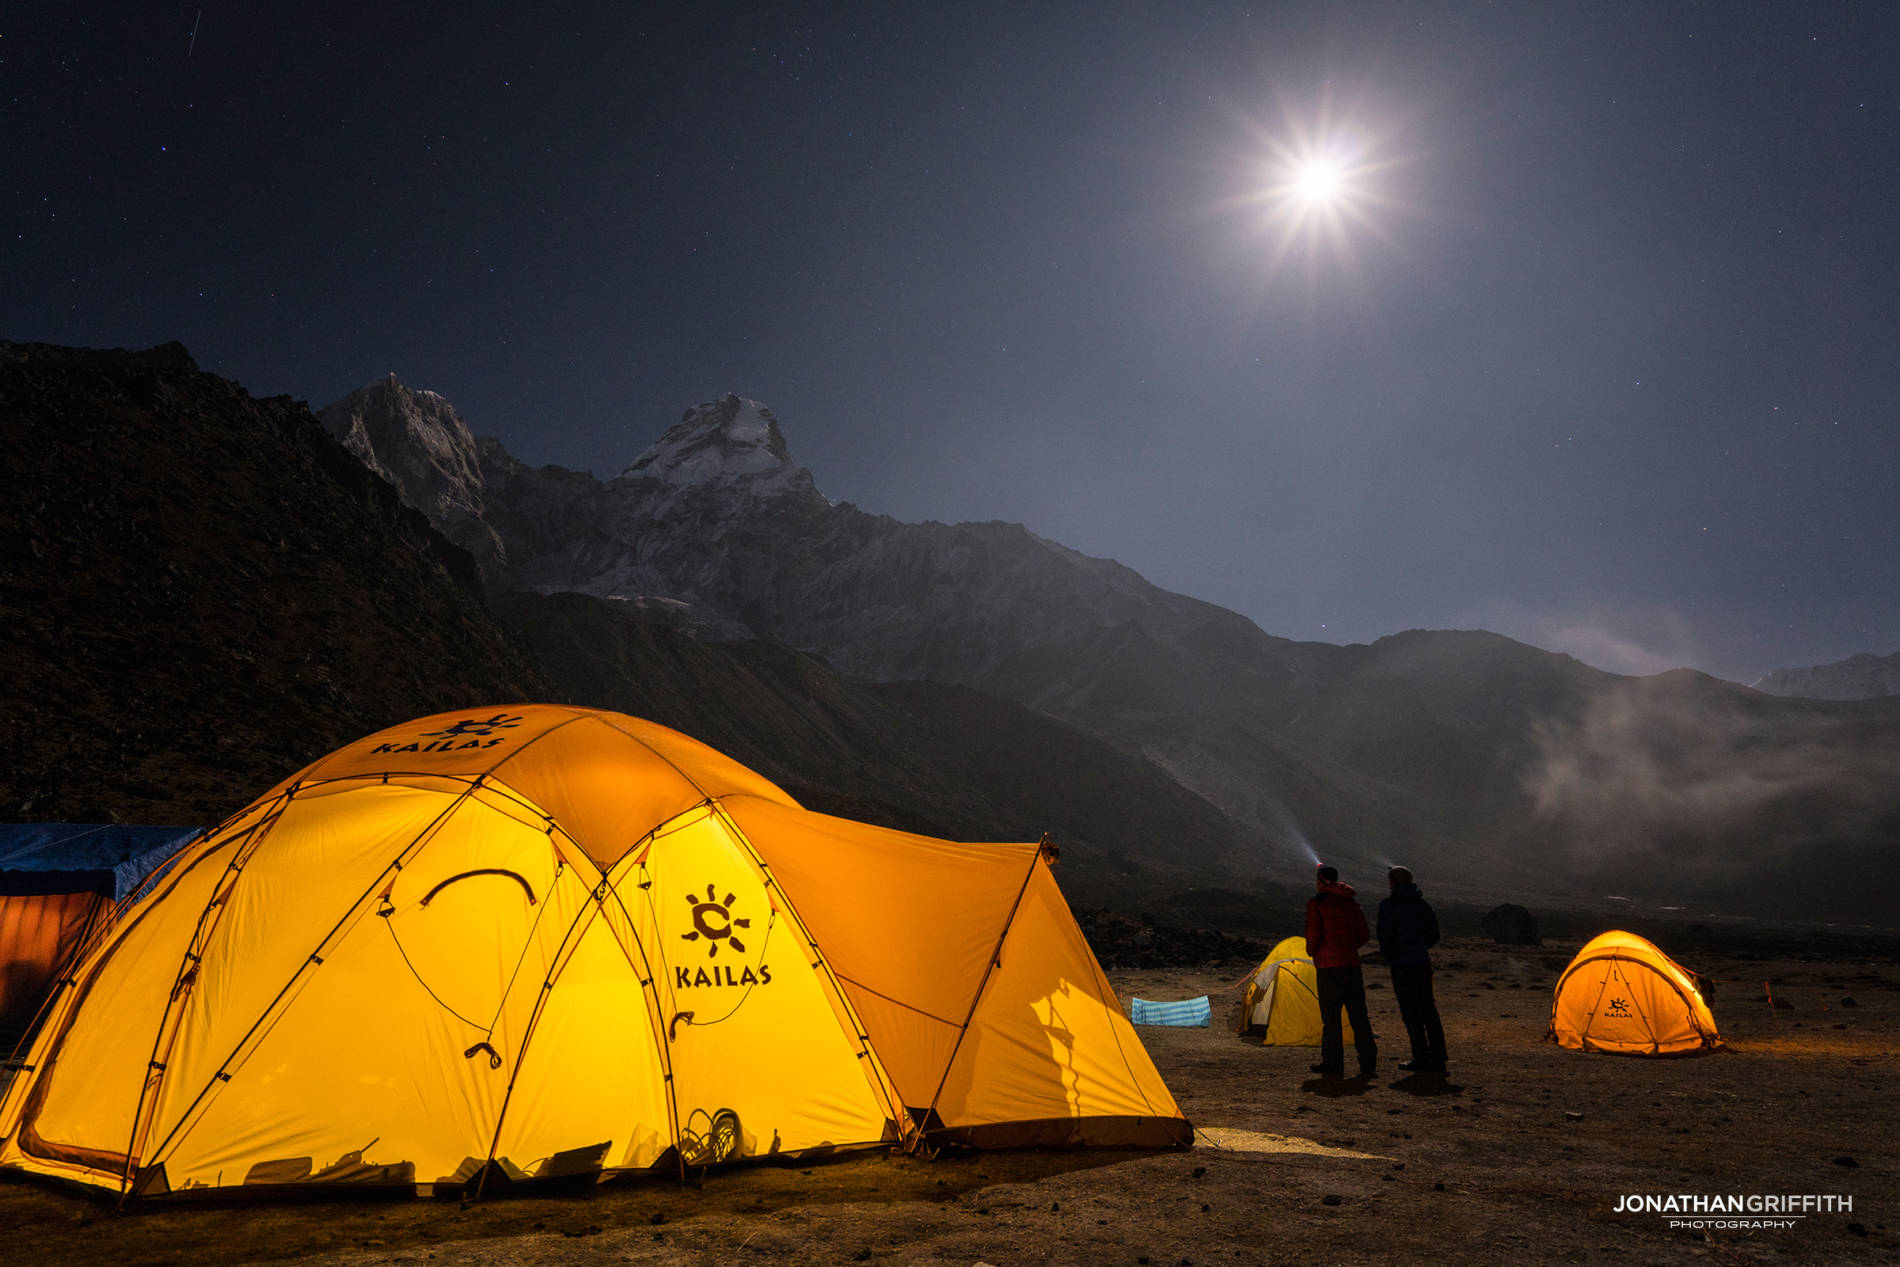
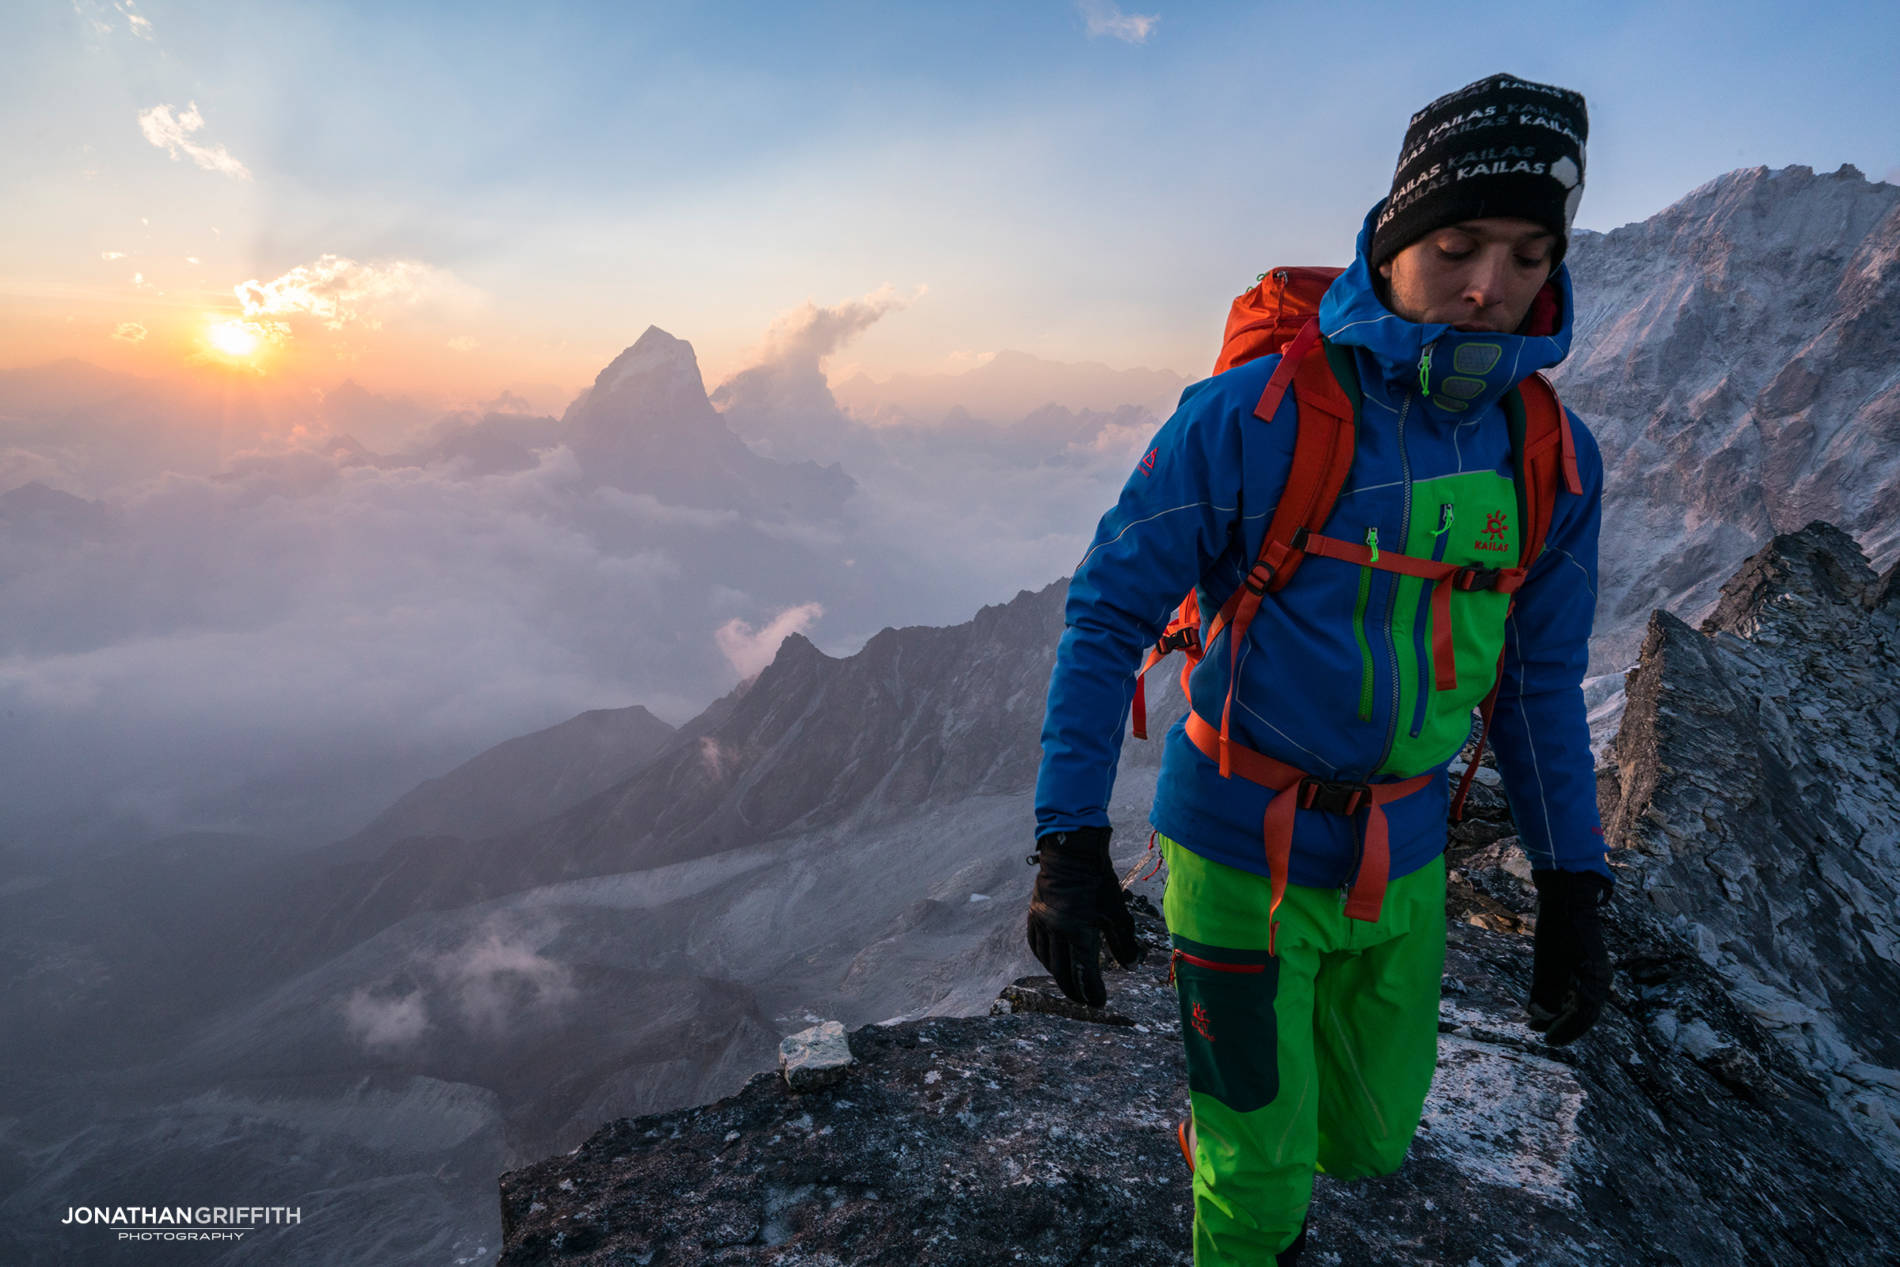
Some sample images on the Sony A7RII rig


Camera Body - Personal Climbs
I used to always carry a Canon 5D with me wherever I went - whether that be out ice cragging or on expedition to the Greater Ranges. Compacts just weren’t good enough quality for me. Then the micro four thirds system came out and changed everything. At first though I wasn’t convinced, the initial micro four thirds cameras weren’t amazing, well they were but just not good enough to replace the 5D. Then the Olympus E-M5 came out - the camera that revolutionised the way I shoot and am able to climb more than any other. I actually bought it for my first trip to Pakistan feeling that trying unclimbed technical 7000m peaks might be a bit excessive with a full frame DSLR. As fate would have it my 5D actually broke at the very start of the trip (the only time I have ever had a 5D malfunction on me which is saying something). It’s hard enough to find a memory card in Pakistan let alone a Canon 5D Mark II so that left me to document my very first expedition to the Himalayas with what felt like a bit of a point-and-shoot.
Fears aside it was one of the most liberating bits of kit I’ve ever used. I shot my whole expedition, night time photos, video and all on a camera I could actually clip to my harness. It was a completely different system to my previous 5D set up but the photo quality blew me away - it’s never going to be as good as a 5D Mark III and 16-35mm lens, but it was the first time I felt the decrease in quality was more than justified by the weight and size savings. And so I fell in love with the EM5 - it started to replace my 5D on all my ‘personal climbs’ and still does today (though now I’ve got the EM5 Mark II). All that we need now is an EM5 Mark III to come out soon with 4K filming capabilities.
Having said that the Sony A7R II is certainly creeping back up on my radar for personal climbs, I guess it will be a bit of a fight between the two really. One thing is for sure is that the EM5 and EM5 Mark II have shot some of my most iconic photos to date.

The Olympus EM-5 Mark II, a very sexy camera

A side by side of the EM-5 and 5D,you can see why I prefer the EM5 for light and fast missions © http://rboyle.co.uk
Camera Lens - Personal Climbs
For me there really is only one choice when it comes to the Olympus E-M5 lens wise, and it was one of the reasons why I chose this camera in the first place. Remember when you’re looking for your next camera it’s incredibly important to look at the lens line up, as together they will form the weight and size of your finished set up. What makes the micro four thirds line up so appealing is the M Zuiko 9-18 F4-5.6 (be careful the is a Zuiko 9-18 as well that is not for micro four thirds cameras, make sure there is an ‘M’ at the start!). This lens is the bomb, primarily because it retracts in on itself when you’re not using it, meaning that it packs away at half the size. Combined with the body of the EM5 Mark II I’ve suddenly got a professional quality camera in an (almost) point and shoot size. On my personal climbs that’s all I need- one decent wide angle lens. I don’t really feel the need use a telephoto, it’s just more faff and more weight. When I’m focused on climbing for myself that needs to come first, the beauty of the EM5 setup is that I can just about squeeze it in to a Lowe Pro Apex 60 AW pouch (with a bit of cutting and chopping of the insides) and then that clips on to my harness. I can get it out and in again faster than any other system out there.
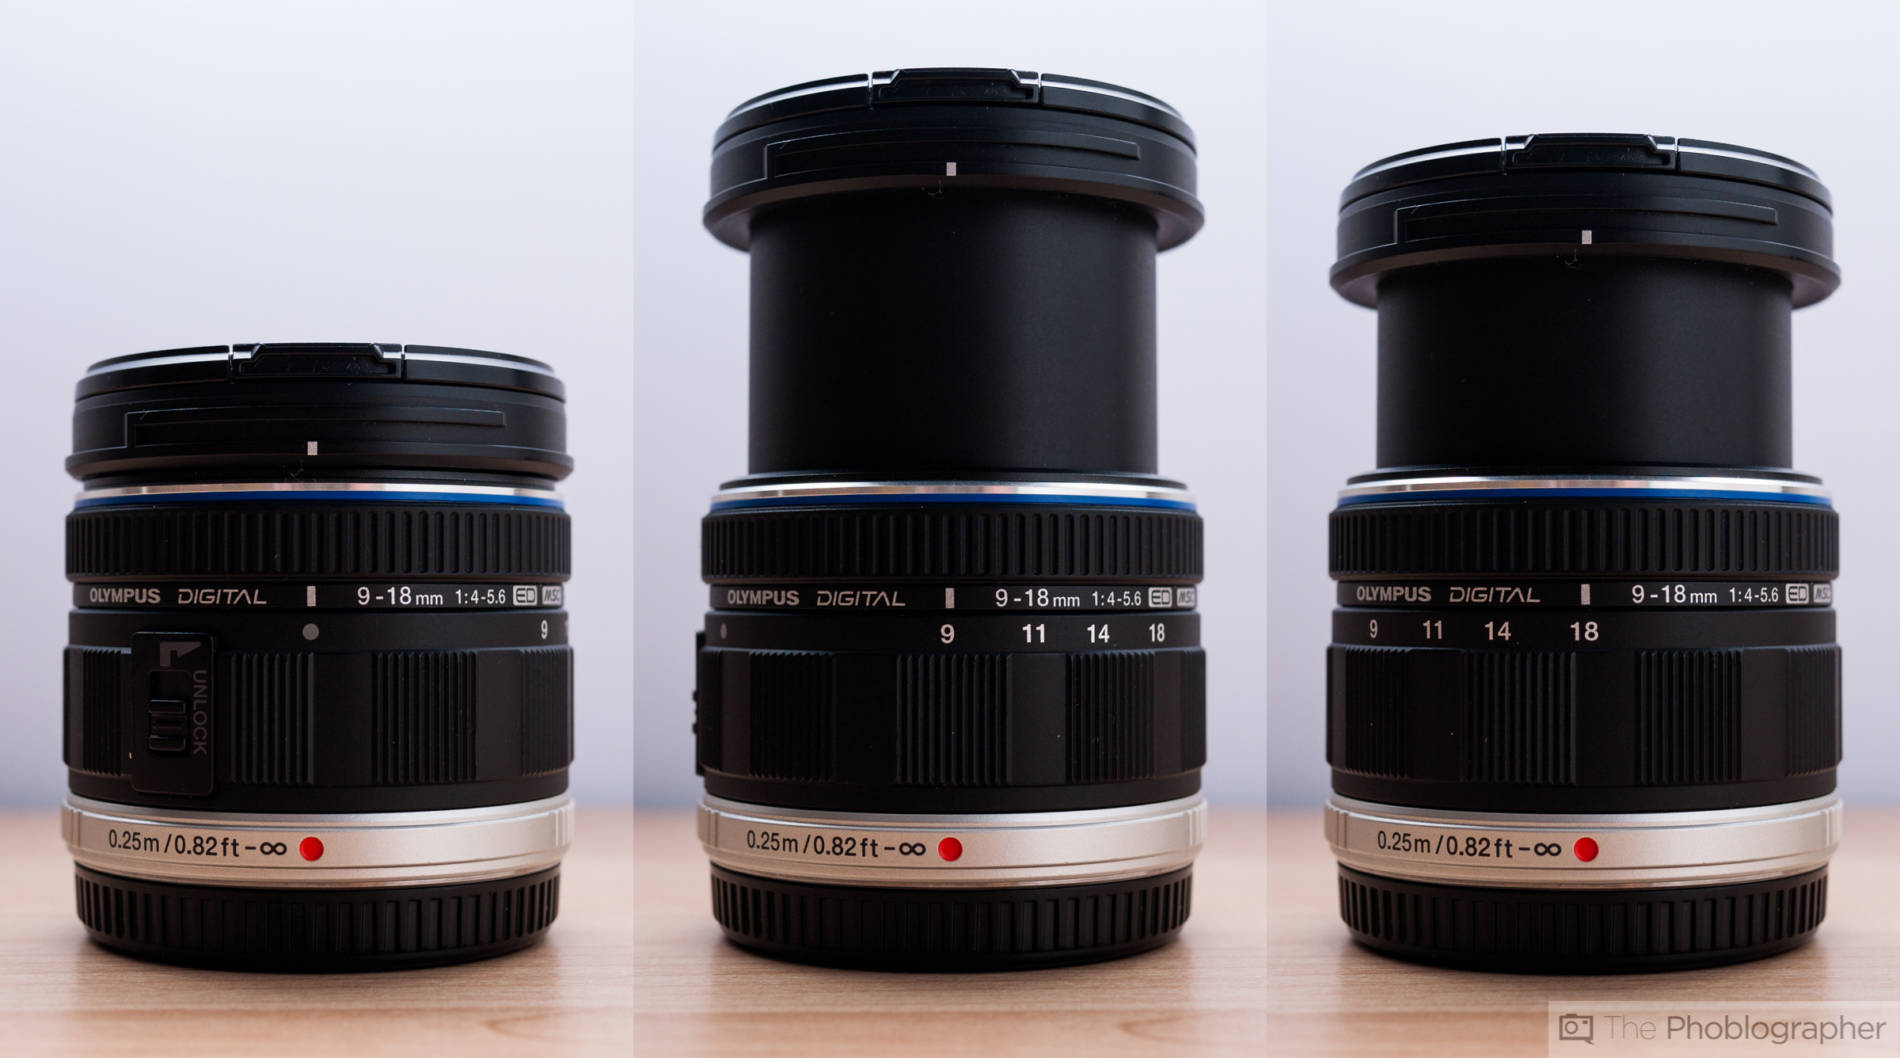
The clever expansion and retraction system of the M Zuiko 9-18. © mmhttp://www.thephoblographer.com
Some sample images from the Olympus EM-5 rig


Carrying systems
So for me I keep things very simple in this department. Heavy padded camera bags have never seen a place in my office - what’s the point? Modern day cameras are pretty tough, a lot tougher than you or I. The idea of bringing extra padding in my backpack on purpose is just beyond me, when I go climbing I want to keep my pack volume as small as possible. If I’m carrying my Sony A7R II or Canon 5D Mark III then I just shove it in the top of my pack- no foam padding or anything (personal choice). If you want you can use your down jacket as a protective cushion. I keep lens caps off as well, it’s an extra thing to hold, take off, and put back on again. For me it’s all about time, and I can unsling my pack off one shoulder, unzip the top, take my camera out, and put it all away again without having to actually stop. You just have to accept that your gear is going to get a few scratches on the paintwork here and there, but if you’re that worried about your kit then you’re in the wrong sport. You do occasionally get a scratch on your lens which is expensive to fix, but that’s something that very rarely happens and it’s something I think is worth putting up with for ease and speed of access. (Using a high quality replaceable UV filter will protect your actual lens glass from any scratches).
As for my EM5 Mark II I cut out all the interior of a Lowe Pro 60 AW pouch which gives me just enough space. It is pretty tight and it will stretch a bit easier over time but it really does work. The great thing about this system is that I can clip it to my harness and that makes for insanely quick and easy access- exactly the kind of access system I need to compliment a camera system that is meant to be light and fast.
I’ve never really bought in to the holster systems that clip on to your backpack straps simply because the camera just gets in the way. Having a camera sticking out from my shoulder just feels like trouble- for starters you can’t climb like that and secondly you’re highly likely to hit it on something even if you’re going scrambling. Plus you look like a tit. (The former is just my personal opinion and some people are converts, the latter is a universal truth though).
Tripods and Gimbals
The world of tripods is almost as daunting as the world of camera bodies. For photography my favourite tripod is the Sony VCT-R100 - it’s the lightest tripod for its size out there, plus it’s incredibly compact and very cheap. So cheap that people often think I’m joking when I say that’s what I use - but for photography why do you need anything super complicated? All it has to do it hold a camera straight, and it won’t get that much use anyway so I’d rather save the weight and space if I do have to carry a tripod up a mountain. Plus when you break it (and you will break tripods as you try to punch the legs through the snow and ice) it’s super cheap to replace.

For video work things get a lot more complicated. You can get lost for days researching ball heads and trying to get a grasp of which one is best for you combined with which insanely expensive carbon fibre tripod you will need to buy with it. The result? Nothing you couldn’t really do with a gimbal (well for me anyway, they’re also a lot more versatile but you need practice to master them smoothly). Handheld gimbals have exploded in the last couple of years so that the DJI Ronin, the Bible in the gimbal world a couple of years ago, has been quickly superseded by much smaller and lighter systems. This is definitely something you want to do some research in to as it will depend on the weight of your camera - ideally you want to get a gimbal that covers your body and lens weight and nothing more. That way you’re not carrying extra gimbal for nothing.
In my instance the Sony A7R II and Zeiss FE 16-35 works amazingly well on the DS1 Beholder. I even used it all the way up Ama Dablam (6850m) this Spring. A great piece of kit, with huge battery life, super compact, very fast to set up, and takes a good beating. It really will add a very professional feel to everything you shoot for only a very small investment. Like I say think about your camera set up and then the total weight, a good place to start looking at gimbal options is on the B&H PhotoVideo Gimbal Page. I think overall you can’t really go wrong with gimbal choice nowadays as the tech is so advanced, but like all my kit I want to keep it as small and light as possible so have a scroll through the options that fit your intended camera weight and then check out the sizings.

The DS1 and Sony A7R II

The DS1 and Sony A7R II
Other Essentials
The most important piece of kit for videographers is a really good Air Blower - it’s a cardinal sin to have dust marks on your sensor whilst shooting video so make sure you use it every single time you change lens in the field (another good reason for keeping your lens selection small). Particularly stubborn stains will need the use of a Visible Dust Brush or even a Sensor Swab and a Sensor Loop but these aren’t something I’d actually take on a route with me - if I’m shooting video though the air blower has to come with me if I plan on changing lenses at all.


Visible Dust Brush

Sensor Swab
Batteries- this depends on the system and what you’re shooting. For example the Canon 5D Mark III is very battery efficient but then again it doesn’t shoot high bit rate video. In comparison the Sony A7R II eats through batteries especially when shooting in 4K video mode so I’ll often head up for a shoot with 10 batteries for the day if I’m shooting on the Sony A7R II. Word of advice: Don’t buy generic batteries, they may be about a tenth of the price of the original manufacturer ones but they aren’t anywhere near as good. They will run out much faster than Original Manufacturer ones and don’t work as well in the cold.
Make sure you buy decent SD cards. I’ve never ever had one fail on me but could you imagine if it did? On top of that make sure you buy fast ones, it will help with the file buffering which all modern day cameras have issues with. The faster the card the faster the camera can write to it- and when you’re writing 40MP images that’s a huge amount of data per second. I shoot with 256GB cards now, it means I don’t have to change cards (which means I won’t lose them). Yes they’re expensive but spare a thought for how things were in the film days and it’s actually still incredibly cheap.
A Final Thought….
If by the end of all this you’ve looked through all the options, seen all the sample photos, and thought you really couldn’t tell them apart, then maybe that’s the whole point of this article. Use what works best for you. There are certain situations where I can afford to take a heavier rig and others where I just can’t, at the end of the day I’ll still come back with great shots regardless of what I’m actually shooting with. Don’t get too obsessed in your gear, as you’ve seen above some of my best shots come from the ‘amateur’ EM5 system. Keep things simple, take lots of photos and work hard on your photography skills. You can buy the world’s most expensive camera but it still won’t do the most important thing for you: composition.


